Good morning! I've been wanting to improve my decorating skills for a while now, and I thought it'd be a fun idea to experiment using royal icing. Tomorrow, for those who don't know, (but you really should unless you're living under a rock) is Easter. Growing up in a Christian home, we always celebrated Easter as the resurrection of Jesus Christ. Be that as it may, my parents still exposed me to society's view of Easter when I was younger. My parents would fill an Easter basket for me, go and get my picture taken with the Easter Bunny at a local store, but were always clear on what the real meaning of it was. After my family and I go to church on Easter morning, we come home and have a big lunch. This year for dessert my mom and I are going to be making Carrot Cake with Cream Cheese Frosting, and I thought I'd use my inspiration from Sweet Sugar Belle make these cute royal icing carrots to decorate it with. I didn't want to make a regular size batch of Royal Icing to make these, because I really didn't want to make 100 carrots out of royal icing (give or take) . I did some searching on the internet and came across this recipe for a small batch of royal icing from Katrina's Kitchen. Small Batch Royal Icing
You'll need:
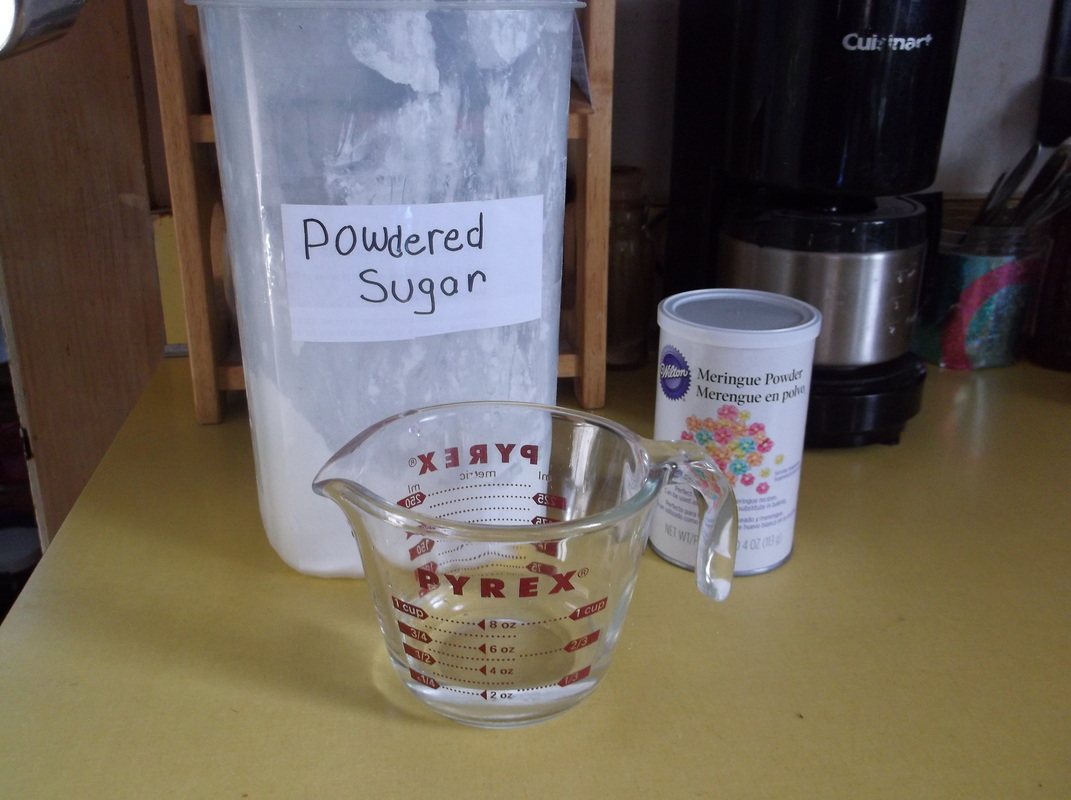
2 cups powdered sugar
2 tbsp. meringue powder
1/4 cup warm water
1/2 tsp. vanilla or almond extract (clear is ideal, but I used the regular color and had no problem)
1) Begin by mixing the powdered sugar and the meringue powder together in a bowl using an electric mixer.
2) Add the water and extract slowly. Beat at medium-high speed until stiff peaks begin to form. (This usually takes about 5-7 minutes) 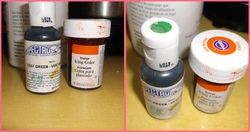 In order to achieve the orange carrot and green stems I used food coloring. My favorite types of food coloring are the gel pastes, they give whatever you're making a vibrant color! In this case I used Wilton's gel formula icing color in orange, and Spectrum's gel paste in 'Leaf Green'. Simply add in the desired amount and mix it into your icing. (The amount depends on how bright and vibrant you want your icing color to be.)
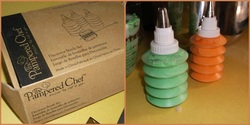
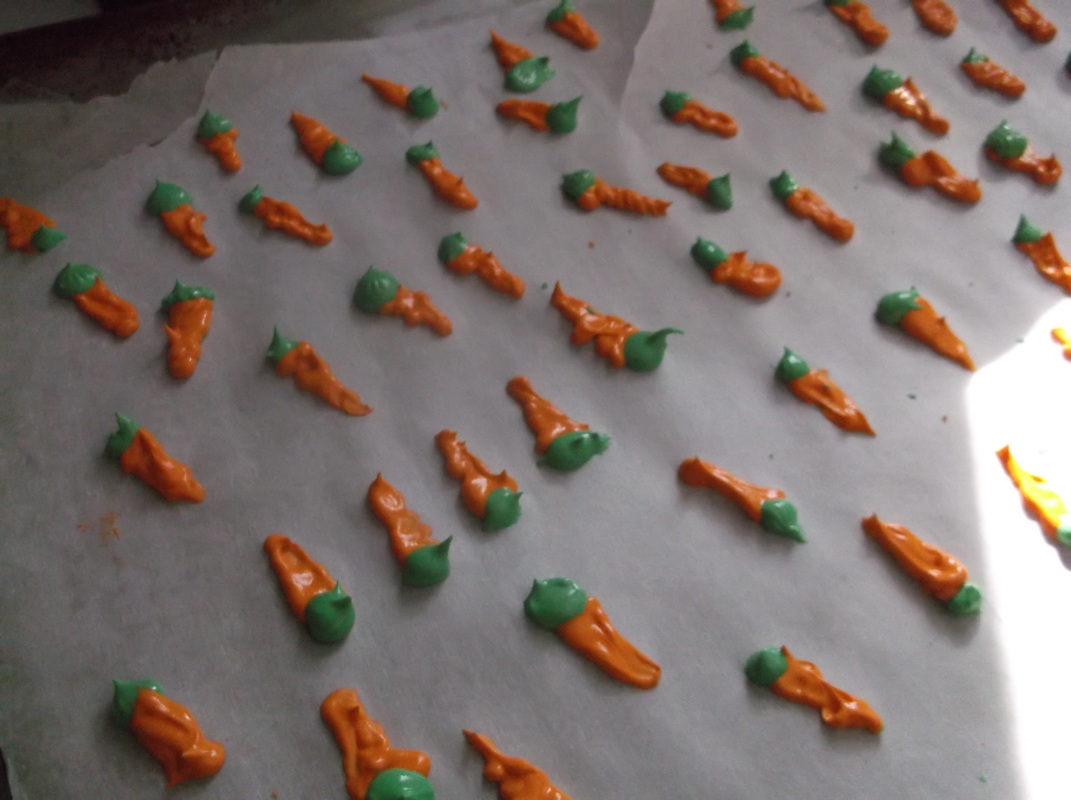
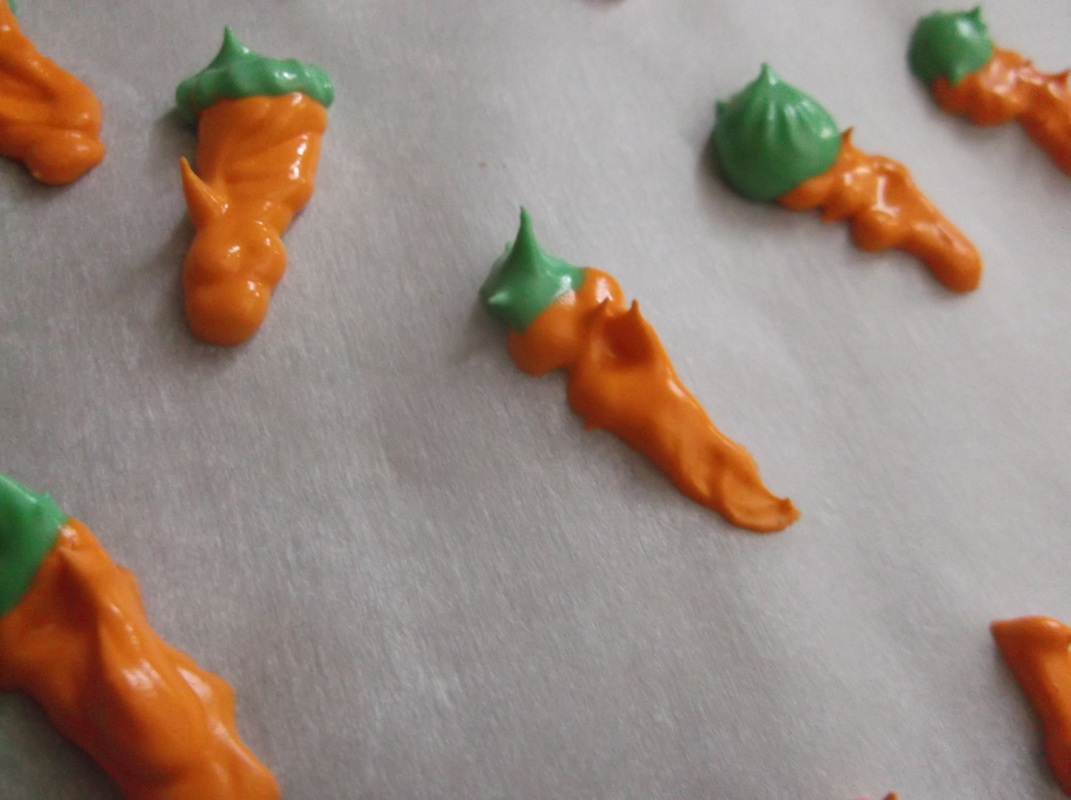
Lay out a sheet of wax or parchment paper onto a cookie sheet in preparation to pipe. I had to tape down the edges of the paper, because they kept popping up. I used the leaf and star tip for the green icing (stems) and the writing tip for the orange icing (carrots). Assuming everyone know what a carrot looks like, there is really not much else to it. I found it easier to pipe the base of the carrots first and then the stem, but either way works. I also found it easier to work upside-down, that is, piping the wider end of the carrot first and then working my way up to the narrow end. These need to be left sitting out to dry for 24-48 hours.
Mine are still drying in the pictures above, so tomorrow I will show you how they turned out!
Have a nice day everyone :)
Good morning everyone!
In our family, we enjoy having lots of fresh fruit on hand. For a while, my dad and I were eating bananas like crazy, so we stocked up on them. Unfortunately , we didn't get to all of them in time and they began to brown.
I decided to use them up this morning and make banana muffins for my dad's birthday. Ingredients-
1 cup whole-wheat flour (I recommend King Arthur)
1 cup all-purpose flour
1 1/2 tsp. baking powder
1/4 tsp. salt
3/4 cup packed, light brown sugar
1/4 cup white sugar
3 tbsp. canola oil
2 large, ripe bananas (peeled and mashed- about 1 1/4 cups)
1 large egg
1 tsp. vanilla
1 1/3 cup fresh or frozen blueberries (optional)
1/3 cup crushed walnuts (optional)
Preheat oven to 350 degrees. Line a muffin tin with paper liners, and lightly spray with cooking spray.
In a medium bowl, whisk together flour, baking powder, and salt.
Set aside.
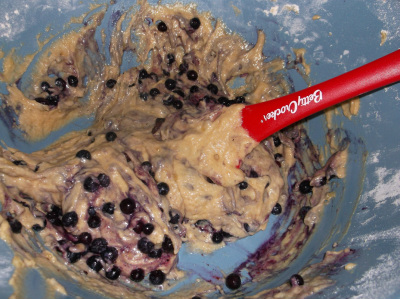
In a large bowl mix together oil, sugars, egg, vanilla, and mashed bananas until smooth.
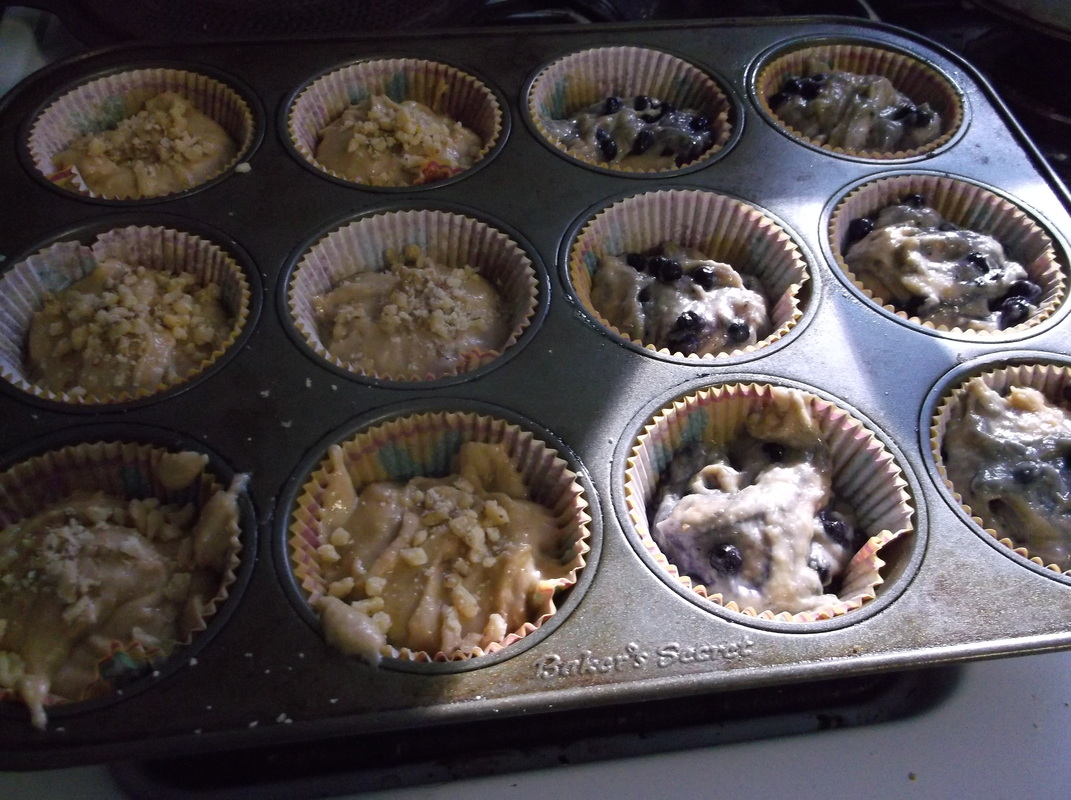
Add flour mixture to banana mixture and stir until just combined. If you decided to add blueberries: Fold blueberries into batter using a rubber spatula or wooden spoon. Evenly distribute batter between the muffin cups, filling about 2/3 of the way full.
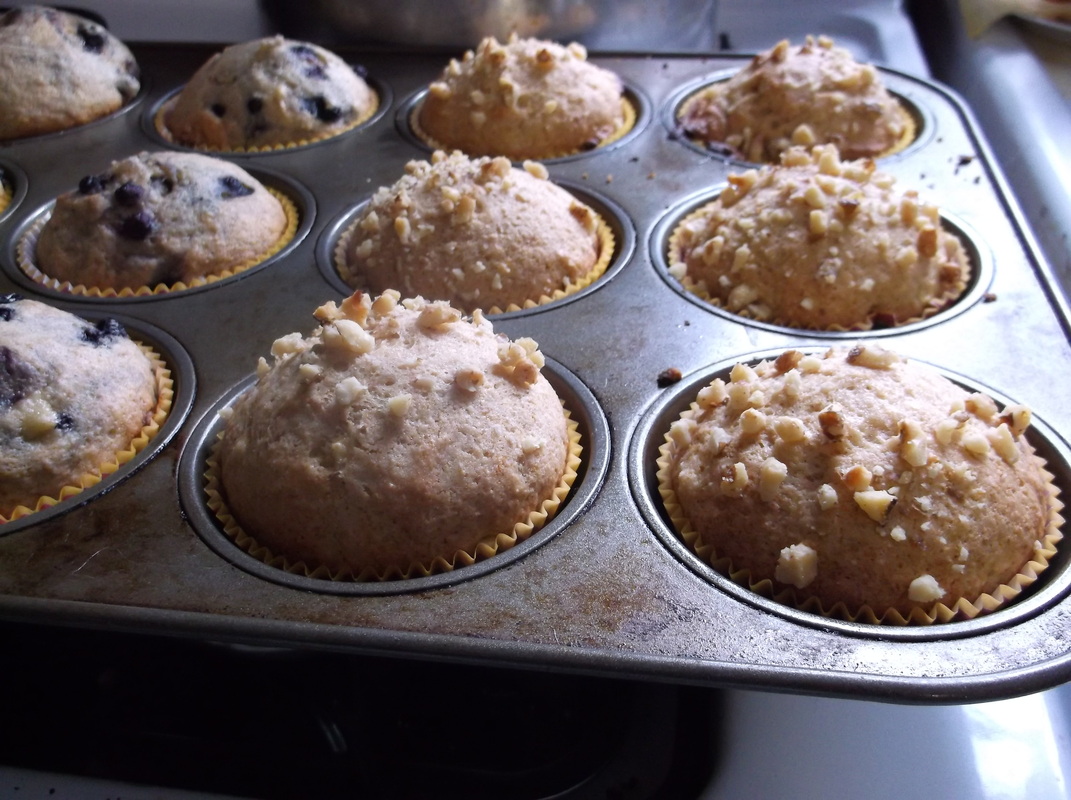
If you decide to add the crushed walnuts: sprinkle about 1/2 tsp on top of the batter before baking. Bake for 13-16 minutes, or until a toothpick inserted in the center comes out clean.
Cool for about 5 minutes before serving to prevent burning the roof of your mouth! Hope you enjoy!
This recipe makes about 1 dozen muffins.
Good afternoon everyone!
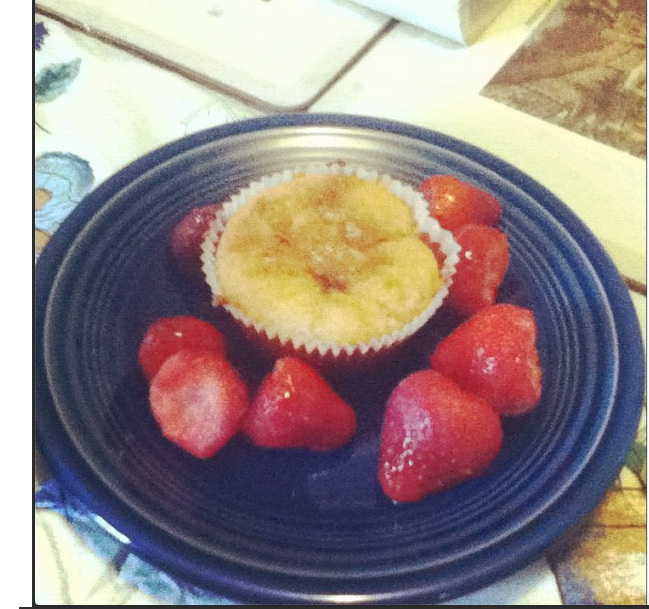
I was looking through some of my old recipes and photos and came across this muffin recipe and thought I would share it with you. Now a days, when we see a recipe that has 'low fat' in the description it usually involves applesauce- but this one does not! Low-Fat Strawberry Cinnamon Muffins
Yields 1 dozen Ingredients- 1 1/2 cups flour 1/2 cup white sugar 2 1/2 tsp. baking powder 1 tsp. cinnamon 1/4 tsp. salt 2/3 cup vanilla fat-free yogurt 1/4 cup unsalted butter, softened 3 tbsp. 1% low-fat milk OR light vanilla soy milk 1 egg, lightly beaten 1/4 cup strawberry jam (I used this kind) Begin by preheating your oven to 375 degrees.
Combine flour, sugar, cinnamon, baking powder, and salt in a large bowl, stirring well with a whisk.
Using a mixing spoon, make a well in the flour mixture. You can simply do this by just "digging" (so to speak) a little hole in the middle of the mixture. Set aside.
In a separate bowl combine yogurt, butter, milk, and eggs stirring well with a whisk.
Add yogurt mixture to flour mixture, stirring until moist. Be careful not to over-mix. Line a standard muffin tin with paper liners and spray each cavity lightly with cooking spray.
Spoon in 1 tbsp batter into each liner, then adding a tsp. of jam. Once this is done for each muffin, evenly distribute remaining muffin batter.
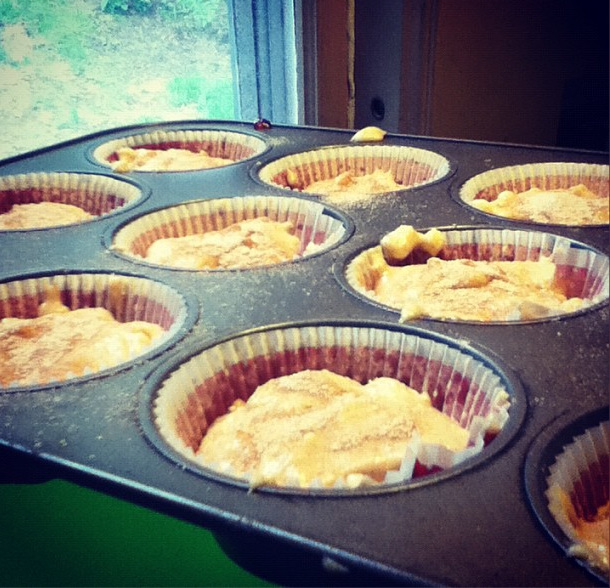
It should look like this :)
In a small bowl, combine sugar and cinnamon and sprinkle over batter.
Bake for 15 minutes and cool on a wire rack for about 15 minutes as well. Serve with a few strawberries ( if desired) and enjoy!
As the title of my blog states, I have a mild obsession with cupcakes (anything in cake-like form is kind of my weakness). Since my Mom's birthday was this past Sunday, I made her cupcakes and so I thought, "Why not dinner as well?" I decided to make her a pasta dish with broccoli and shrimp!  Spinich Pasta with Shrimp and Broccoli! Spinich Pasta with Shrimp and Broccoli
Ingredients:
1 package Spinich pasta (or your personal favorite)
25-30 frozen, pre-cooked cocktail shrimps, shelled
1 family-sized bag frozen broccoli (this is all we had on hand, but I'm sure fresh broccoli would make this dish even better!)
1 onion, peeled and chopped
1 tbsp minced garlic or garlic paste
roughly, 1 tbsp parsley
roughly, 1 tbsp basil
1 tsp black pepper
2 tbsp olive oil
salt, to taste
olive oil, for cooking
Start by preparing your pasta according to the directions on the box.
Do the same for the frozen broccoli or fresh broccoli.
Drizzle a large skillet with olive oil and turn to medium/high heat. Add onions and let them brown.
Once slightly browned, (make sure they don't burn!) add shrimp, 1/2 of the garlic and seasonings.
Stir around for 1-5 minutes or until shrimp begins to heat up. Add it the pre-cooked broccoli.
Mix it all together.
Leaving drained pasta in pot or pouring into a large pasta bowl, mix with 2 tbsp olive oil and remaining garlic.
Once shrimp and broccoli is heated mix in the pasta and serve.
Enjoy!
 Yesterday was St. Patrick's Day as well as my mom's birthday. For those of you who don't know- "The shamrock remains the premier symbol of the Irish people. Its powerful message stems from the legend of St. Patrick, Ireland’s patron saint, who used the simple trefoil (or clover) plant to illustrate the presence of God in the natural world. Each leaf of the shamrock was meant to represent the holy trinity – the Father, the Son and the Holy Spirit." ( taken from msn living) So, in honor of this Irish holiday I prepared a batch of Key Lime Cupcakes with Key Lime Buttercream. Here is the recipe:
Key Lime Cupcakes with Key Lime Buttercream
For the cupcakes:
1/3 cup cake flour
1/2 tsp. baking soda
1/2 tsp. baking powder
1/2 tsp. salt
1 stick butter, cut in half, slightly softened
1 1/4 cup white sugar
2 eggs, room temperature
2 1/2 tbsp. key lime juice
1 tbsp key lime zest (just eyeball it)
1 drop of green food coloring (optional)
3/4 cup buttermilk, room temperature
For the buttercream:
1 stick butter, softened
1 tsp. vanilla extract
1 (16 oz.) package powdered sugar
3 tbsp. key lime juice
1-2 tbsp milk
For the cake:
Preheat oven to 350* and line a muffin tin with paper liners, spray lightly with cooking spray.
Using a whisk, sift together cake flour, baking soda, baking powder, and salt. Set aside.
Using an electric mixer beat butter in a medium-sized bowl until soft. Add in sugar, and beat until light and fluffy. Add eggs, one at a time, beating well after each addition.
Add lime juice, lime zest and food coloring until well mixed. (Mixture may look curdled) Add the flour in three additions, alternating with the buttermilk.
Mix until just combined.
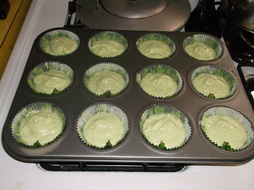 Fill muffin tin with batter 2/3 of the way full, and bake for 15-19 minutes or until a toothpick comes out clean.
Cool completely on a wire rack before frosting.
Makes 12-18 cupcakes
For the Frosting:
Using an electric mixer, beat butter until light and fluffy. Add in vanilla. Gradually add powdered sugar alternating with key lime juice, using a tbsp. at a time and a tbsp. of milk.
Beat well after each addition.
For a thicker frosting add more powdered sugar.
For a lighter frosting add more milk and or key lime juice.
I hope you enjoy this recipe! For the original authors click on the following links:
Key Lime Cupcakes - (adapted from My Madison Bistro)
Key Lime Buttercream Frosting - (adapted from myrecipes.com)
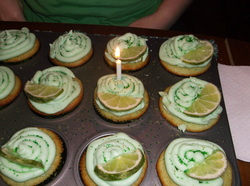
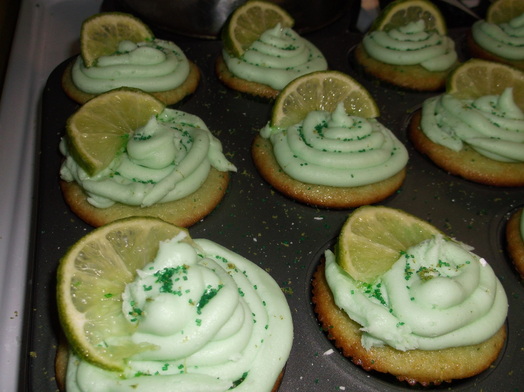 I topped mine off with a little lime zest, green sugar crystals, and a lime slice!
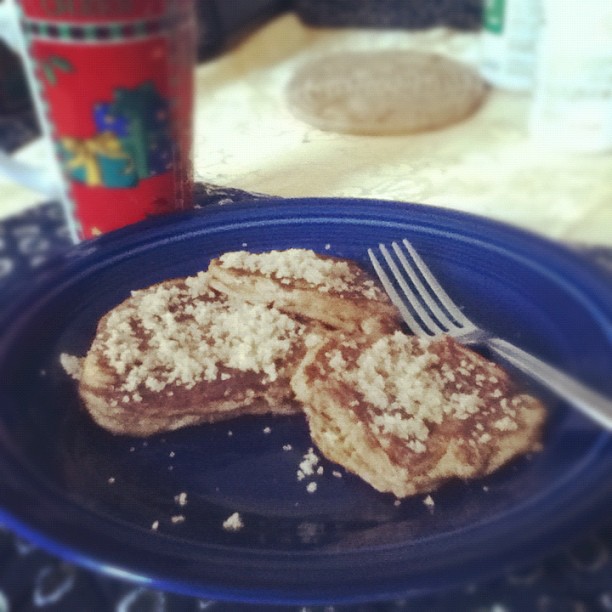
I made these in the fall and my family absolutely loved them! Once September/October comes around, pumpkin flavored everything comes around. Hope you enjoy this recipe! :) Ingredients-2 Cups Whole-Wheat flour ( I used King Arthur) 4 tsp. baking powder 1 tsp. baking soda 1/2 tsp. nutmeg 1/2 tsp. ginger 4 tbsp. brown sugar 1 egg yolk 2 cups skim milk ( I used Light Vanilla Soy Milk) 1 cup canned pumpkin puree 3 tbsp. applesauce: adding in an additional: 1 tsp. cinnamon 1 tsp. cloves 1 tsp. nutmeg 3 egg whites ➊ In a large bowl whisk together flour, baking powder, baking soda, and spices. ➋ In a separate bowl mix the egg yolk, pumpkin, brown sugar, and apple sauce mixture. Stir in milk until well blended. ➌ Add the milk mixture to the flour mixture until well combined. ➍ In a medium bowl, beat egg whites until light and fluffy. Fold egg whites into batter. ➎ Ladle batter by 1/4 cup amounts onto a preheated, non-stick griddle sprayed with cooking spray. Cooke until evenly brown on each side. (see note) These pancakes are super good! I usually top mine off with some brown sugar. I have also put the batter into muffin tins and baked for around 15-20 minutes or until a toothpick comes out clean. They're an easy grab and go breakfast that way. Hope you enjoy! Note: These pancakes can be a little stubborn to cook- so don't be discouraged if they take longer than your average pancake! Revised from this recipe.
|


 RSS Feed